Learn how to install garage door weather stripping with this easy step-by-step DIY guide. Improve insulation, prevent drafts, and save energy with expert tips tailored for homeowners.
Garage door weather stripping might seem minor, but it’s essential for maintaining a clean, dry, and energy-efficient space. It blocks out drafts, moisture, dust, and pests. Knowing how to install garage door weather stripping can save you money on energy bills and help protect everything stored inside your garage year-round.
For expert assistance or a flawless installation, trust Lincoln Garage Doors. They specialize in sealing garage doors effectively, ensuring your home stays protected from the elements. Whether you’re upgrading for comfort, energy savings, or durability, Lincoln Garage Doors provides professional solutions that make a big difference in your garage’s performance.

Why Garage Door Weather Stripping Matters
Garage doors are one of the largest openings in your home. Without proper sealing, they allow outside elements to invade your indoor space.
Benefits of weather stripping include:
- Reduces Energy Bills: By blocking drafts, weather stripping helps maintain a consistent temperature inside your garage, preventing energy loss and lowering heating and cooling costs.
- Keeps Rain, Snow, and Water Out: Proper sealing prevents water from seeping through, protecting your garage and possessions from moisture damage.
- Prevents Dirt, Bugs, and Rodents from Entering: Weather stripping acts as a barrier, stopping dirt, insects, and pests from entering your garage and keeping your space clean and secure.
- Extends the Life of Your Garage Door: Sealing your garage door reduces wear and tear caused by moisture and extreme weather, helping to extend its lifespan and reduce maintenance costs.
- Enhances Comfort: If your garage doubles as a workspace, weather stripping ensures a more comfortable environment by reducing drafts, making it a more pleasant area to work or spend time in.
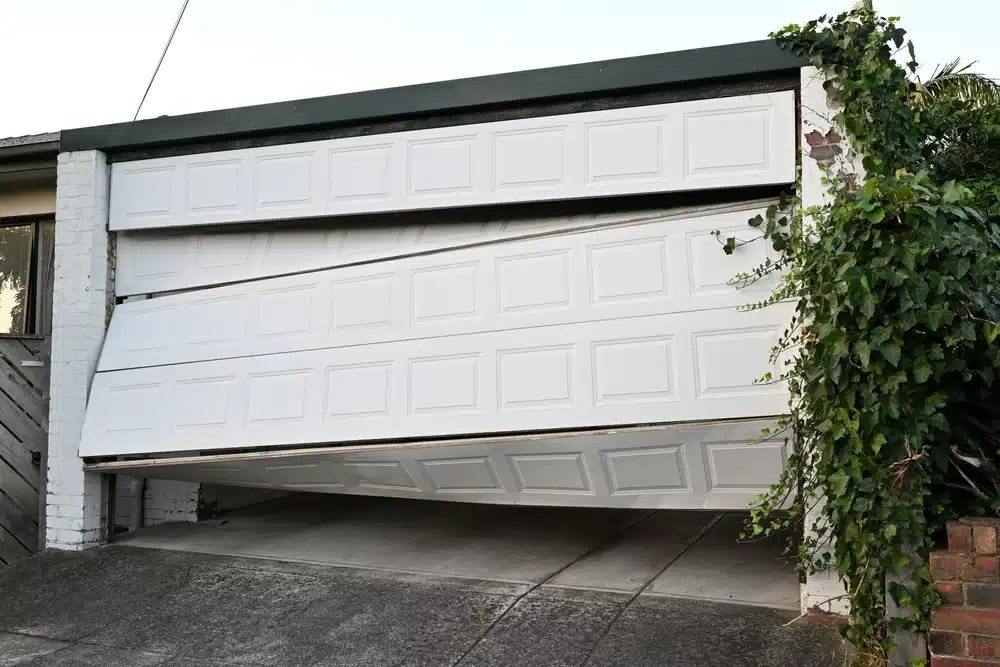
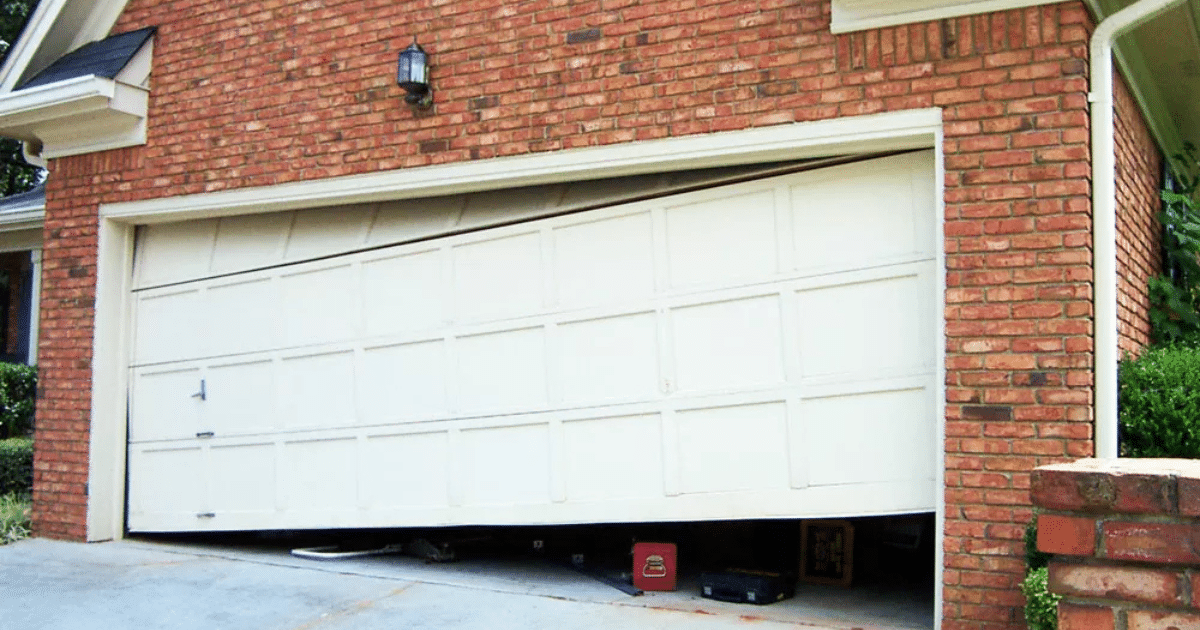
Signs You Need to Replace Weather Stripping
Not sure if it’s time to replace yours? Look for these clear signs:
Visible Cracks, Tears, or Gaps
If you notice visible cracks, tears, or gaps in your weather stripping, it’s a clear sign it’s time for a replacement. Over time, weather stripping can wear down due to constant exposure to the elements, affecting its ability to seal properly. Replace it for better insulation.
Sunlight Leaking Through the Door Edges
When sunlight leaks through the edges of your garage door, it indicates that your weather stripping is no longer providing a proper seal. This is not just an aesthetic issue but can also lead to energy loss and temperature imbalances in your garage, making replacement necessary.
Wind Drafts or Water Near the Garage Door Tracks
If you feel cold wind drafts or notice water near the tracks of your garage door, the weather stripping is no longer doing its job. A compromised seal allows these elements to penetrate your garage, potentially damaging your belongings and affecting comfort levels inside.
Noise and Vibration: When the Door Closes
Strange noises and vibrations when your garage door closes can also point to worn-out weather stripping. If the seal is damaged, the door might not close properly, causing an uneven shut and allowing air and debris to enter. Replacing the weather stripping will restore smooth operation.
Tools & Materials You’ll Need
Basic Tools
- Tape measure
- Utility knife or heavy-duty scissors
- Drill or screwdriver
- Step stool or ladder
- Mild cleaning solution
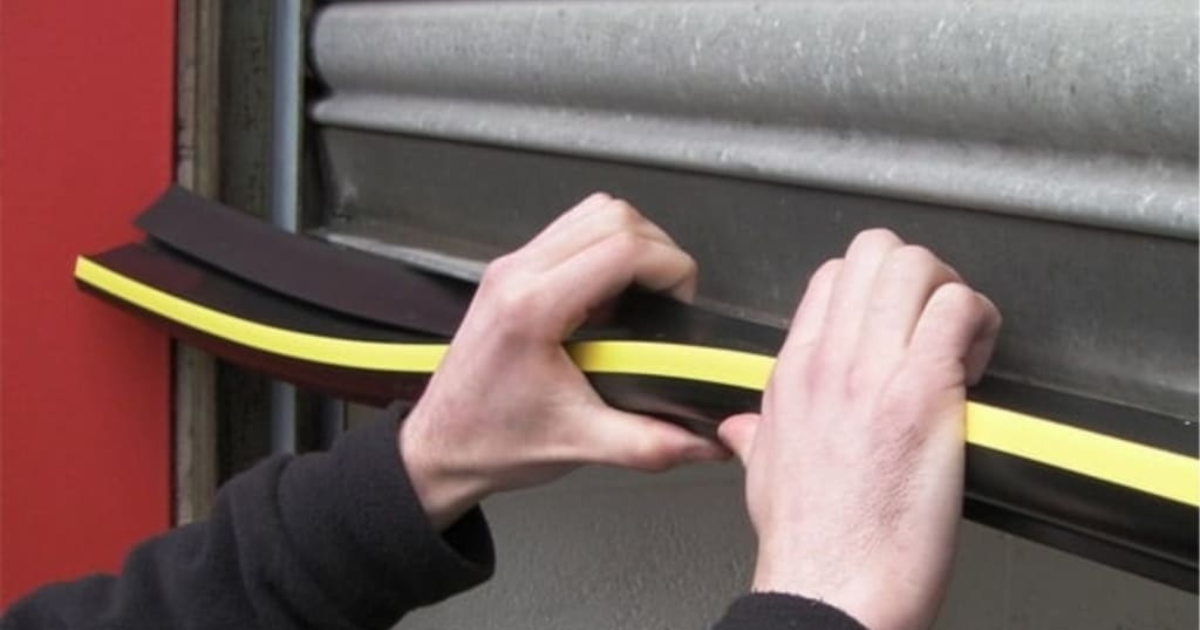
Weather Stripping Types
- Top & side vinyl seals
- Bottom rubber gasket (U-shaped or T-style)
- Garage door threshold seal (optional)
Types of Garage Door Weather Stripping
Here’s a quick comparison of the most common types:
- Vinyl Door Stop Molding: Great for side and top seals; flexible and effective.
- Rubber Bottom Seal: Comes in U-shaped or T-style; slides into the metal track under the door.
- Brush Seal: Ideal for dusty environments.
- Threshold Seal: Sticks to the floor, creating a strong lower seal.
Preparation Before Installation
Before diving into the install:
- Remove old seals: Use a pry bar or flathead screwdriver.
- Clean thoroughly: Wipe surfaces with a mild solution to remove grime or adhesive. Let dry.
- Inspect the frame: Look for warped wood, bent tracks, or alignment issues.
- Measure and cut: Use a tape measure to size your new stripping. Cut with precision.
Step-by-Step Installation Guide
Step 1: Install Side & Top Seals
- Close the garage door.
- Align the stripping so it slightly presses against the door.
- Mark your screw positions.
- Drill in place—start at the top, working down.
- Overlap the side pieces slightly over the top strip for a tight corner seal.
Step 2: Install Bottom Seal
- Remove the old seal (if present).
- Slide or push the new seal into the bottom track.
- If using an adhesive style, clean and glue directly.
- Trim excess rubber with a utility knife.
Step 3: Test for Gaps
Close the door and inspect all edges for light or airflow. If needed, adjust the position of the strips to improve the seal.
Common Installation Mistakes to Avoid
- Installing in cold weather: Cold temperatures can make vinyl and rubber materials rigid, making them harder to work with and less effective as a seal. It’s best to install during milder weather for the best results.
- Overtightening screws: While it’s tempting to secure weather stripping tightly, overtightening screws can damage the seal and prevent it from working properly. Always tighten screws just enough to hold the stripping in place without causing any damage.
- Cutting too short: Cutting weather stripping to the wrong length can lead to gaps that allow air and moisture to seep in. Always cut it slightly longer than necessary and trim it down to the correct size for a perfect fit.
- Not aligning properly: Improper alignment of the weather stripping can cause sealing gaps, reducing its effectiveness. Ensure everything is properly aligned to avoid friction and ensure a secure seal.
Maintenance Tips to Extend Lifespan
- Inspect every season, Especially after winter and rainy months
- Clean gently: Use warm water and mild soap
- Replace as needed: Every 2–5 years, depending on exposure and wear
- Lubricate moving parts nearby to reduce seal wear
Should You DIY or Call a Pro?
When to DIY:
- Basic installation of side/top/bottom seals
- Handy with tools and measurements
- No structural issues with the door or frame
When to Call a Pro:
- You see warped frames or rotted wood
- You need a full garage door overhaul
- Installing insulated or commercial doors
- You’re not confident with tools or ladders

FAQs – How to Install Garage Door Weather Stripping
How long does weather stripping last?
Garage door weather stripping typically lasts between 2 to 5 years. The lifespan depends on factors such as exposure to extreme weather, frequency of garage door use, and proper maintenance. Regular inspection and replacement help maintain an effective seal, preventing energy loss and water intrusion.
Can I install garage weather stripping myself?
Yes, installing garage door weather stripping is a manageable DIY task. With basic tools and some knowledge, you can complete the job in under 2 hours. Follow manufacturer instructions carefully and ensure proper measurements for a snug, effective fit that helps insulate and protect your garage.
How do I stop water from coming under my garage door?
To prevent water from seeping under your garage door, install a threshold seal on the floor along with a bottom gasket seal. These components work together to create a barrier against rain and moisture, ensuring your garage stays dry and protected from water damage.
What is the easiest seal to install?
The easiest weather stripping to install is the side and top vinyl seal, especially the adhesive-backed versions. These seals require minimal tools and effort, making them a popular choice for DIY projects. Simply peel off the backing and press the seal into place for a quick, effective installation.
Final Thoughts on Installing Garage Door Weather Stripping
Incorporating garage door weather stripping is an efficient weekend project that delivers long-term benefits such as enhanced weather protection, energy savings, and pest control. By ensuring a tight seal, you protect your garage from extreme temperatures, prevent drafts, and maintain a more comfortable environment. This simple upgrade can significantly improve your home’s overall energy efficiency.
Make sure to inspect your garage door for any gaps or wear before installation. With just a few basic tools and quality materials, you can easily complete the task and enjoy the results. Sealing your new garage door like a professional ensures your home remains energy-efficient, comfortable, and protected from the elements year-round.
END NOTE
Lincoln Garage Doors is your trusted partner for all things garage doors. Whether you’re tackling weatherproofing, replacing parts, or upgrading your system, our expert team is here to guide you every step of the way. We pride ourselves on offering dependable services that ensure your garage remains secure and energy-efficient. Learn more about our offerings, including residential and commercial solutions, on our residential and commercial service pages.
Explore our services and see why we’re the go-to for garage door installations and garage door repairs. Don’t forget to check out our gallery and reviews for a closer look at our past projects. Stay connected with us on X, or reach out through our contact page to schedule your service today. Let us show you why Lincoln Garage Doors is the name you can rely on for lasting solutions!
Lincoln Garage Doors LLC
6335 Camp Bullis Rd Ste 18, San Antonio, TX 78257
+12104058225